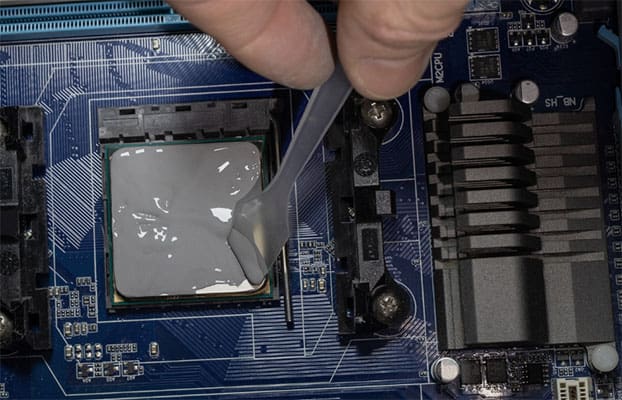
Thermal paste, also known as thermal compound, thermal grease, or thermal interface material (TIM), is a substance that helps improve the heat conduction between two surfaces. In the context of computers and electronics, it’s primarily used between a processor (CPU or GPU) and a heatsink or cooler.
Even if a cooler’s base and the top of a CPU appear smooth to the naked eye, they have microscopic gaps and imperfections. When these two surfaces come into contact, air (a poor conductor of heat) can get trapped in these gaps. The thermal paste helps fill these gaps, ensuring better contact and, thus, better heat transfer.
The more efficiently heat is transferred from the CPU to the cooler, the better the cooling performance. Thermal paste aids in achieving this efficient heat transfer. The thermal paste needs to be applied in specific situations. Here are the primary scenarios when you’d need to use or consider re-applying thermal paste:
Building a New PC: When installing a new CPU and cooler for the first time, you must apply thermal paste if the cooler doesn’t come with pre-applied thermal paste.
Replacing or Upgrading a Cooler: If you’re switching out your CPU cooler for a new one, or if you’re re-installing the same cooler after it has been removed, you’ll need to clean off the old thermal paste from the CPU and cooler surfaces and apply a fresh layer.
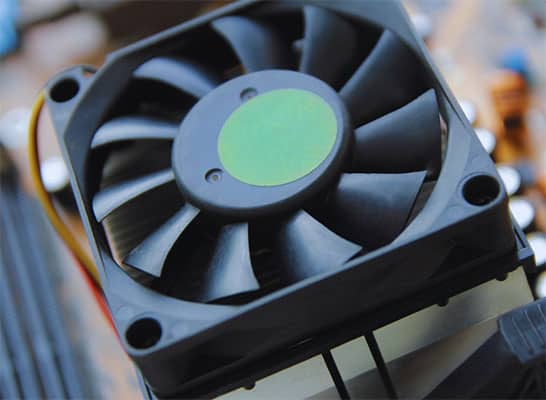
Overheating Issues: If you notice that your CPU temperatures are higher than usual and it’s not related to a malfunctioning fan or heatsink, it might be due to old, degraded, or improperly applied thermal paste. In such cases, you must reapply the paste after cleaning the old layer.
You can monitor your CPU temperature using various software tools. Here are some popular options:
BIOS/UEFI
Many motherboards allow you to monitor CPU temperatures directly from the BIOS or UEFI settings. When you boot your computer, you can usually access the BIOS/UEFI by pressing a specific key (e.g., F2, Delete) during startup. Look for a section related to hardware monitoring or system information.
Operating System Utilities
Both Windows and macOS provide built-in tools to monitor CPU temperature. On Windows, you can use the Task Manager:
- Right-click the taskbar and select “Task Manager.”
- Click the “Performance” tab.
- Select “CPU” from the left sidebar to see the temperature graphs.
- On macOS, you can use the Activity Monitor:
- Open “Finder” and go to “Applications”> “Utilities.”
- Open “Activity Monitor.”
- Click the “Window” menu and select “CPU Usage” or “Floating CPU Window.”
Third-Party Software: Many third-party software applications are specifically designed for monitoring hardware, including CPU temperature. Some popular options are:
- HWMonitor.
- Core Temp.
- SpeedFan.
- NZXT CAM.
- Open Hardware Monitor.
Routine Maintenance: If you’re doing a comprehensive maintenance clean-up of your PC after a couple of years, renewing the thermal paste’s a good idea, even if you’re not explicitly having temperature issues. Over time, the thermal paste can dry out and lose its effectiveness.
After “De-lidding”: For enthusiasts, “de-lidding” is a process where the IHS (Integrated Heat Spreader) is temporarily removed from a CPU to replace the stock thermal material with a higher-quality thermal paste or liquid metal. After this process, the thermal paste will be needed both beneath the IHS and on top of it, between the IHS and cooler.
Checking Hardware or Cleaning: If you have to remove the cooler from the CPU for any reason, it’s generally a good practice to clean off and reapply thermal paste before reattaching the cooler.
How to clean thermal paste off CPU? (Step By Step Guide)
Cleaning thermal paste off a CPU is essential when replacing or reapplying thermal paste or upgrading to a new cooler. The process is similar for both Intel and AMD CPUs. Here’s a detailed step-by-step guide:
Materials You’ll Need:
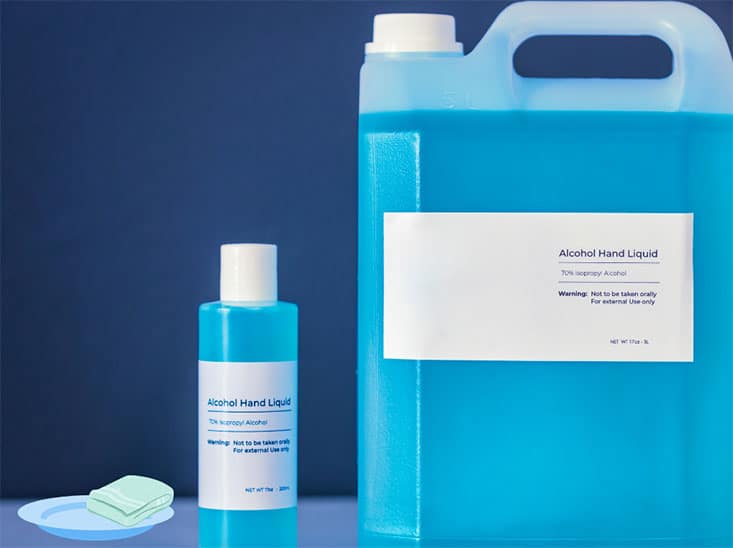
- Isopropyl alcohol (preferably 90% or higher for quick evaporation and efficient cleaning).
- Lint-free cloth, microfiber cloth, or coffee filters (they don’t leave lint residues like regular tissues or paper towels might).
- Plastic or latex gloves (optional, but it’s good for keeping oils from your fingers off the CPU).
- Soft-tipped tweezers (optional for picking up lint or fibers if any are left behind).
- A small bowl or container (to pour a small amount of isopropyl alcohol).
10 Steps to Clean Thermal Paste off a CPU:
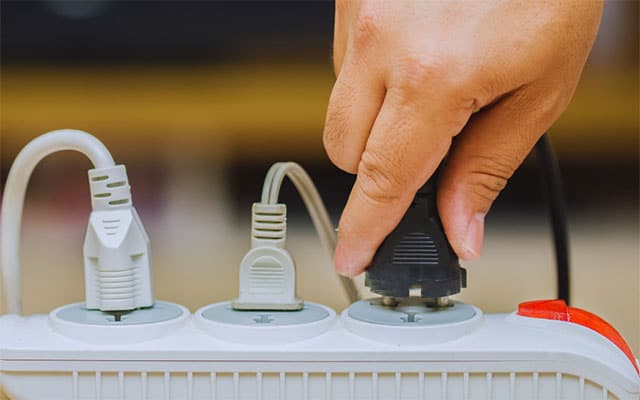
Step 1 – Power Off and Disconnect: Ensure your computer is powered off and disconnected from the power source before starting.
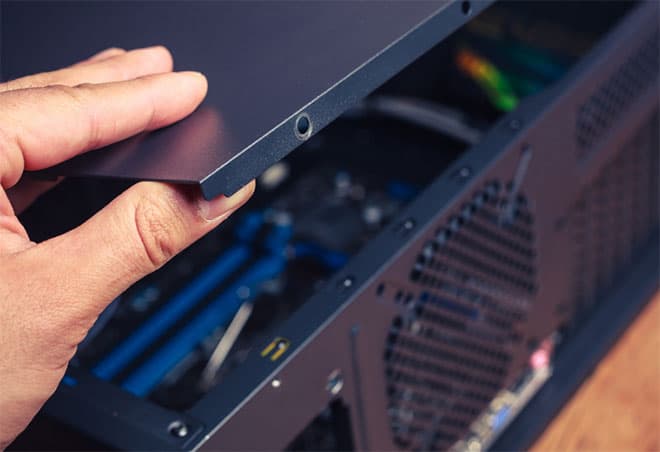
Step 2 – Open the Case: Open your computer case to access the motherboard and CPU.
Step 3 – Remove the CPU Cooler: Depending on your cooler’s mounting mechanism, you must unlatch or unscrew it. Once detached, gently wiggle and lift the cooler off the CPU.
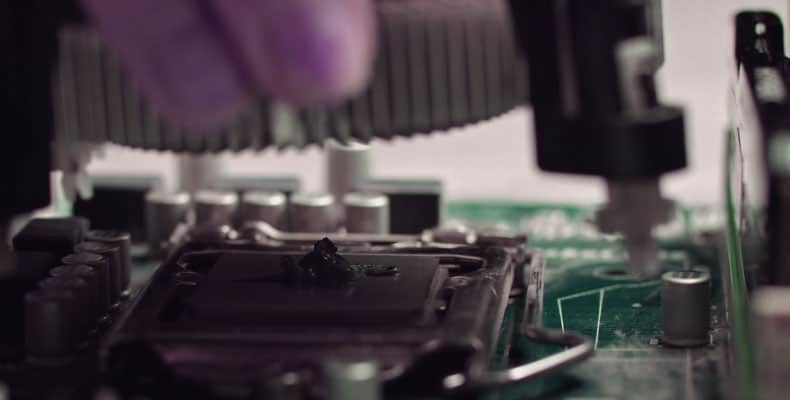
Step 4 – Inspect the CPU: See how much thermal paste needs to be removed. If an excessive amount spills over the sides, gently wipe away the excess with a dry lint-free cloth before using isopropyl alcohol.
Step 5: Dampen the Cloth: Pour a small amount of isopropyl alcohol into the bowl. Dip the corner of your lint-free cloth or coffee filter into the alcohol so it’s damp but not dripping wet.
Step 6 – Wipe the CPU: Gently wipe the CPU surface in a circular or straight motion, removing all the thermal paste. The alcohol will help dissolve the paste, making wiping it easier. If the cloth becomes too dirty, use a clean section to avoid smearing the paste around.
Step 7 – Inspect the CPU Again: Remove all the thermal paste. If any small fibers or lint are left behind, you can carefully remove them with soft-tipped tweezers.
Step 8 – Let it Dry: Wait a minute or so to let any residual alcohol evaporate completely. Isopropyl alcohol evaporates quickly, so this won’t take long.
Reapply Thermal Paste (if needed): If you’re cleaning the CPU to reapply thermal paste or install a new cooler, now is the time to apply the new thermal paste. Remember, you typically only need a pea-sized amount (or a small grain of rice) in the center of the CPU.
Step 9 – Reinstall the Cooler: Carefully place the cooler back on the CPU, ensuring it aligns with the mounting mechanism, and secure it.
Step 10 – Close the Case and Reconnect: Once everything is in place, close your computer case and reconnect the power source.
Both Intel and AMD CPUs have a heat spreader on top so that you won’t be cleaning the delicate silicon. The process is safe if you’re gentle and ensure no liquids seep into the motherboard or other components.
For Intel CPU
Common Intel Sockets: LGA1151, LGA1200, LGA2066.
Steps to Clean Thermal Paste off an Intel CPU:
- Ensure your computer is turned off, unplugged, and preferably grounded to avoid any static discharge.
- Access the interior of your PC by removing the side panel.
Remove the CPU Cooler:
Stock Intel coolers: Twist each of the four push-pins 90 degrees counter-clockwise and pull them up.
Aftermarket coolers: You must unscrew the cooler from its backplate or unclip it, depending on the brand and design.
Gently Lift the Cooler: Once all mounting points are released, gently wiggle and lift the cooler away from the CPU.
Clean the CPU: Follow the previous cleaning method using isopropyl alcohol and a lint-free cloth.
Reapply Thermal Paste (if needed): If you’re putting the cooler back, place a pea-sized amount of thermal paste on the center of the CPU.
Reinstall the Cooler: Place the cooler on the CPU, ensuring alignment. Depending on the cooler type, press down or screw in to secure it.
For AMD CPU
Common AMD Sockets: AM4, TR4, sTRX4.
Steps to Clean Thermal Paste off an AMD CPU:
- As with Intel, ensure the PC is off, unplugged, and grounded.
- Access the interior of your PC.
Remove the CPU Cooler:
Stock AMD coolers: Unlock the latch on the side of the cooler. Gently twist the cooler left and right (not too much!) before lifting it off to avoid pulling the CPU out, as the thermal paste can sometimes act like glue.
Aftermarket coolers: Usually, they’re screwed into a backplate. Unscrew and then lift off.
Clean the CPU: Use isopropyl alcohol and a lint-free cloth, as mentioned earlier.
Reapply Thermal Paste (if needed): Drop a pea-sized amount of thermal paste in the CPU’s center.
Reinstall the Cooler: Carefully realign the cooler onto the CPU. If using a stock cooler, make sure the latch is unlocked when placing it down. Lock the latch once it’s properly seated.
For both Intel and AMD, after reassembling, always double-check connections, ensure the cooler is appropriately seated, and monitor temperatures during the initial boot-up to ensure everything works correctly.
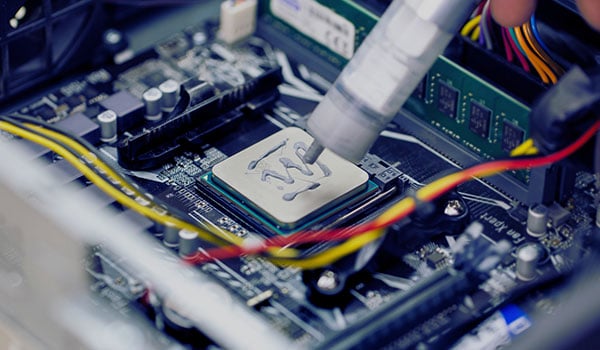
How to apply thermal paste?
Applying thermal paste is crucial when installing or reinstalling a CPU cooler. The thermal paste helps fill microscopic imperfections in the surfaces of both the CPU and the cooler, ensuring optimal heat transfer. Here’s a detailed step-by-step guide on how to apply thermal paste to both Intel and AMD CPUs:
Materials You’ll Need:
- Thermal paste (several brands are available; choose one with good reviews and appropriate for your needs).
- Plastic or latex gloves (optional, but it helps prevent contamination from oils on your fingers).
- A clean, lint-free cloth or coffee filter (for potential cleanup or to remove old paste first).
Steps to Apply Thermal Paste:
Prepare the CPU Surface: Before applying new thermal paste, ensure that the CPU’s surface is clean and free from old thermal paste or any debris. If you’re reinstalling a cooler or replacing old paste, clean off the old paste using isopropyl alcohol and a lint-free cloth.
Open the Thermal Paste Tube: Unscrew or uncap the thermal paste applicator/tube.
Choose the Right Method: There are several methods for applying thermal paste, and the right one may depend on your CPU size and personal preference.
Here are some common methods:
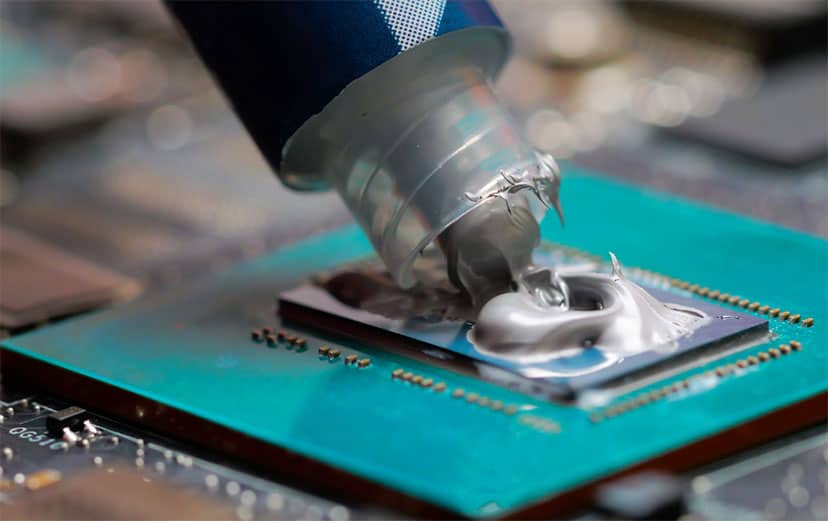
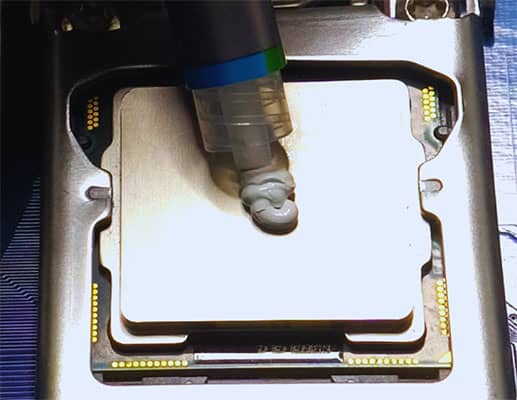
Dot Method: Apply a small pea-sized dot in the center of the CPU. When the cooler is pressed down, it will spread the paste evenly across the surface. This method is usually sufficient for most CPUs.
Line Method (especially for Intel): Draw a thin line of paste across the center of the CPU, either horizontally or vertically, depending on the CPU. The orientation might vary based on the specific CPU and where its cores are located.
X Method: Draw a thin X with the paste over the CPU. When the cooler is pressed down, it spreads in multiple directions.
Spread Method: Use a plastic card or tool to spread a thin paste layer across the entire CPU surface. This method ensures complete coverage, but it’s easy to apply too much or introduce air bubbles, so it’s typically not the preferred method for most users.
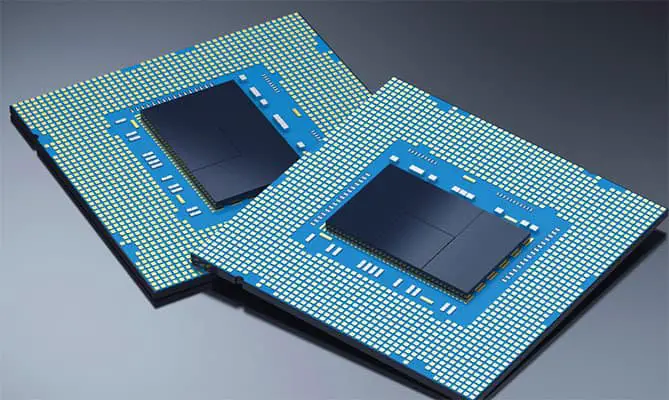
For Larger CPUs (e.g., AMD Threadripper): You may combine methods, such as using multiple dots or lines, to ensure complete coverage given the larger surface area.
Install the Cooler: Carefully position the cooler over the CPU, ensuring proper alignment with the mounting mechanism. Press down evenly. The pressure from the cooler will spread the thermal paste. If using a cooler with a backplate or specific mounting mechanism, follow the manufacturer’s instructions for proper installation.
Check for Spillage: After securing the cooler, check the sides to see if any excessive thermal paste has been squeezed. A little spillage is okay and can be cleaned up, but a significant overflow means you’ve applied too much.
Power On and Monitor Temperatures: After reassembling your PC, turn it on and monitor the CPU temperatures to ensure that the thermal paste is doing its job and that the cooler is seated correctly. Software like HWMonitor or Core Temp can help you monitor temperatures.
The primary goal is to have a thin, even layer of thermal paste to fill microscopic gaps between the CPU and the cooler, ensuring optimal heat transfer. Too much paste can be counterproductive, so starting with less is generally better, and adding more if necessary on subsequent tries.
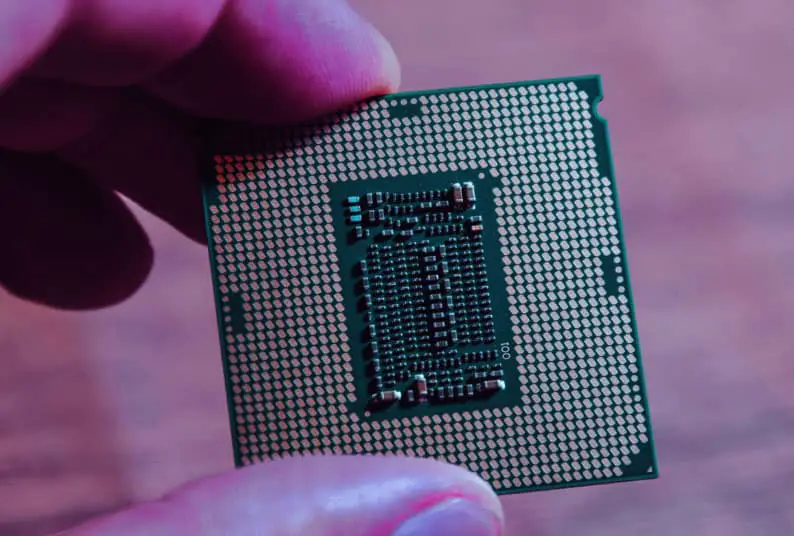
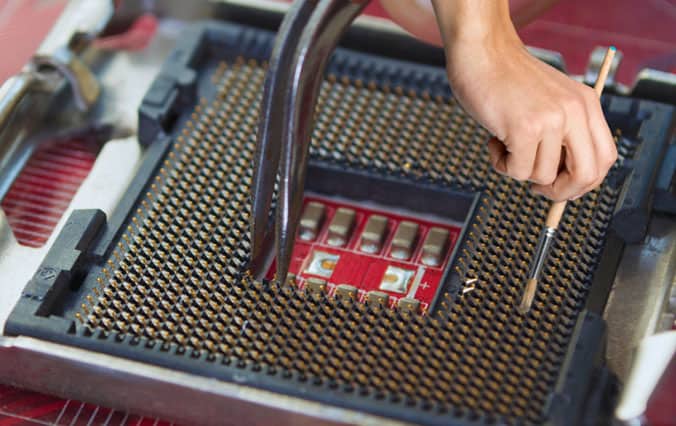
How to clean thermal paste off CPU pins?
Cleaning thermal paste off CPU pins can be a very delicate process. Unlike the CPU’s heat spreader (the top flat surface), the pins are fragile and can be easily damaged. This situation is most commonly relevant for AMD CPUs in modern configurations since Intel CPUs have pins on the motherboard socket rather than the CPU itself.
Materials You’ll Need:
- Isopropyl alcohol (90% or higher concentration for quicker evaporation and effective cleaning).
- Soft bristle brush (like a clean, soft toothbrush).
- Lint-free cloth or coffee filters.
- A small bowl or container.
- Plastic or latex gloves (optional, but useful to avoid contamination from your fingers).
Steps to Clean Thermal Paste off CPU Pins:
Prepare Your Workspace: Work on a flat, static-free surface. Ground yourself first to avoid any static discharge.
Hold the CPU Carefully: Hold the CPU by its edges, ensuring not to exert pressure on the pins.
Dry Removal First: Before using any liquids, remove as much thermal paste as possible by gently shaking the CPU or using a soft bristle brush to brush it away.
Dampen the Cloth: Pour a small amount of isopropyl alcohol into a bowl. Dip the corner of your lint-free cloth or coffee filter into the alcohol so it’s damp but not dripping wet.
Gently Clean the Pins: Lightly dab the pins with the damp cloth. Do NOT rub or apply pressure. The goal is to let the alcohol dissolve the paste so it becomes easier to remove.
Use the Soft Brush: Dip the brush in isopropyl alcohol, shake off excess liquid, then gently brush the pins to remove the dissolved thermal paste. Brush in one direction.
Air Dry: Allow the CPU to air dry for several minutes. Isopropyl alcohol evaporates quickly, but you want to be sure all the liquid is gone before reinstalling the CPU.
Inspect the CPU: Before reinstalling, ensure no pins are bent, and all visible thermal paste has been removed.
Reinstalling: If you’re confident the CPU is clean and dry, reinstall it into its socket. Make sure to align it correctly and gently lower it without applying pressure.
A few points of caution:
Avoid Bending the Pins: This is crucial. Bent pins can cause the CPU to malfunction or not work at all.
Avoid Excess Liquid: Do not let any liquid pool on the CPU. Excess isopropyl alcohol could potentially seep into the CPU internals, which could be harmful.
If you’re unsure about the cleaning process or feel uncomfortable doing it, consider seeking professional help.
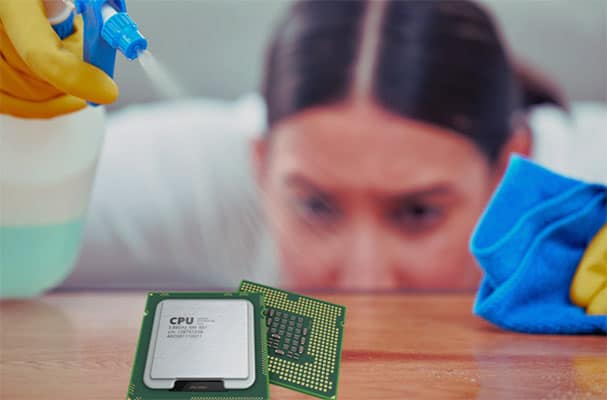
How to clean thermal paste off cpu without alcohol?
If you don’t have isopropyl alcohol on hand, there are other methods to clean thermal paste off a CPU. However, alcohol is generally the preferred solution because of its effective cleaning properties and quick evaporation. Here’s how to clean thermal paste off your CPU without using alcohol:
Materials You’ll Need:
- Lint-free cloth or coffee filters.
- Mild dish soap and water.
- Plastic or latex gloves (optional, to prevent contamination from oils on your fingers).
Steps to Clean Thermal Paste off a CPU Without Alcohol:
Dry Cleaning: Start by using a dry lint-free cloth or coffee filter. Gently wipe away as much thermal paste as you can. Often, if the paste is fresh, a significant amount can be removed this way.
Dish Soap and Water (use with extreme caution):
- Dampen a corner of lint-free cloth with water.
- Place a tiny drop of mild dish soap on the damp section of the cloth.
- Gently clean the CPU’s surface, avoiding any sides or bottom parts where there are connectors or pins.
- Use a separate area of the cloth, dampened with only water, to wipe away any soap residue.
- Use a dry section of the cloth to dry the CPU’s surface completely.
- Air Dry: Even if you use minimal water, let the CPU air dry to ensure no moisture remains.
Inspect the CPU: Make sure it looks clean and free of residue or lint.
Important Notes:
Avoid Moisture on Pins: If your CPU has pins (like many AMD CPUs), ensure no moisture comes in contact with them. Water can cause corrosion or short circuits.
Minimal Water: Using the dish soap method, use as little water as possible. The goal is to have the cloth damp, not wet.
Be Gentle: CPUs can handle some pressure, but it’s always better to be gentle to avoid potential damage.
While alcohol is the recommended solution due to its quick evaporation and non-conductive properties, these alternative methods can work in a pinch. Always be cautious when working with electronic components.
Thermal Paste Recommendations
For Overclockers and Enthusiasts: Metal-based or liquid metal compounds are usually preferred for the highest performance but require careful application.
For General Users: Ceramic-based or carbon-based pastes are recommended due to their balance between performance and safety.
For Beginners or those seeking minimal hassle: Pre-applied or non-conductive ceramic-based compounds are usually the safest choices.
When choosing a thermal paste, check reviews, benchmarks, and the build’s specific requirements should be considered. Even within a single category, performance can vary based on the specific formula and quality of the product.
Learn more:
Does Overclocking Reduce GPU Lifespan?
What Is CPU Package Temp And How To Monitor?
What Is Artifacting GPU And How To Fix?
Table of Contents